In this tutorial, SAMURAI Paint will share you the steps of spraying Hydrographics which also known as water transfer printing by using Samurai Aerosol Spray Paint. We will show you some of step picture instructions so that you can follow the steps easily.
Make sure to rub and clean the surface by using p400-800 sandpaper before starting the project. Then, spray SAMURAI 2K04 Epoxy Surfacer to cover all the blades or small holes found on the surface of the object.
After that, dry for a few minutes and rub again using smoother sandpaper with p1000-1500 grid. Then, use SAMURAI Black 30 as an undercoat.
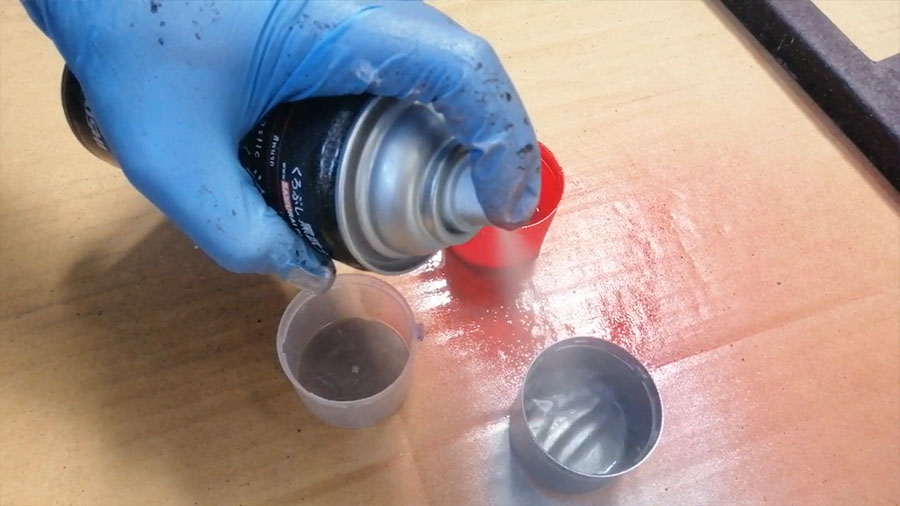
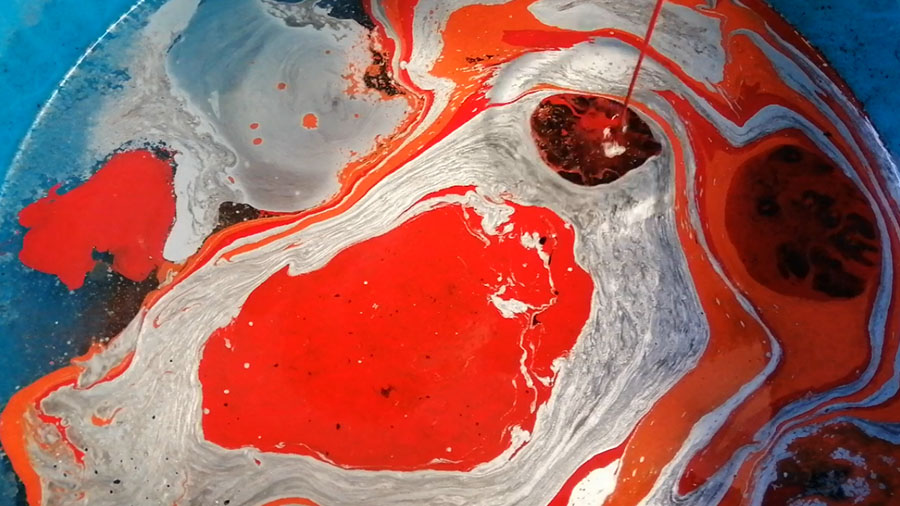
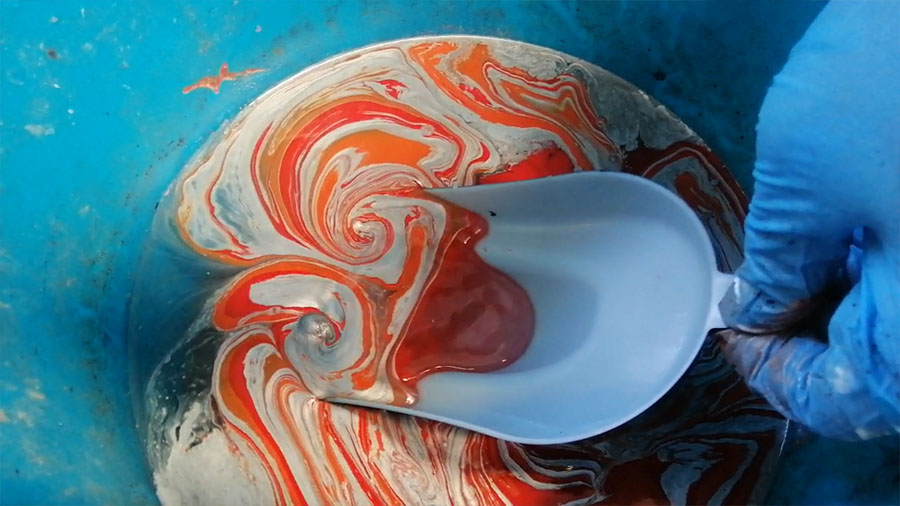
Next, choose any colors based on your creativity to be poured in the water.
Then, pour all the colors in the water based on your desire pattern. For more pattern, you can click this button below:
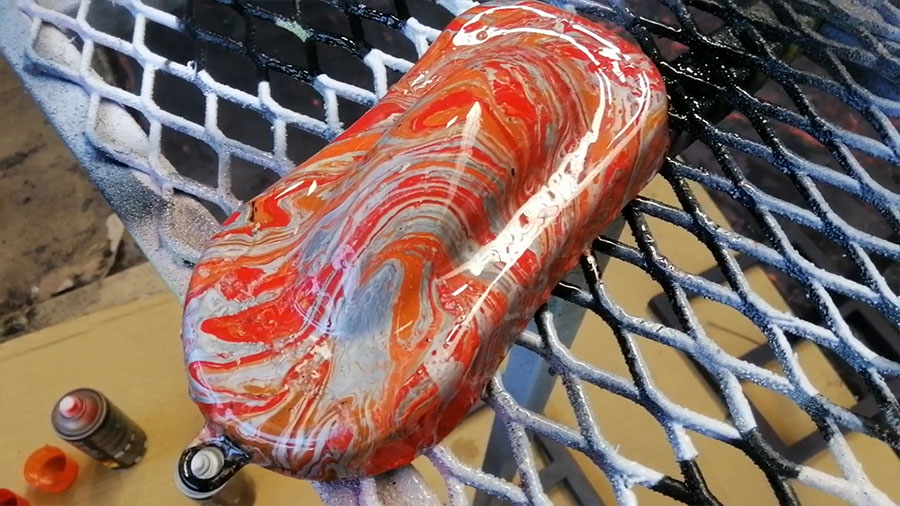
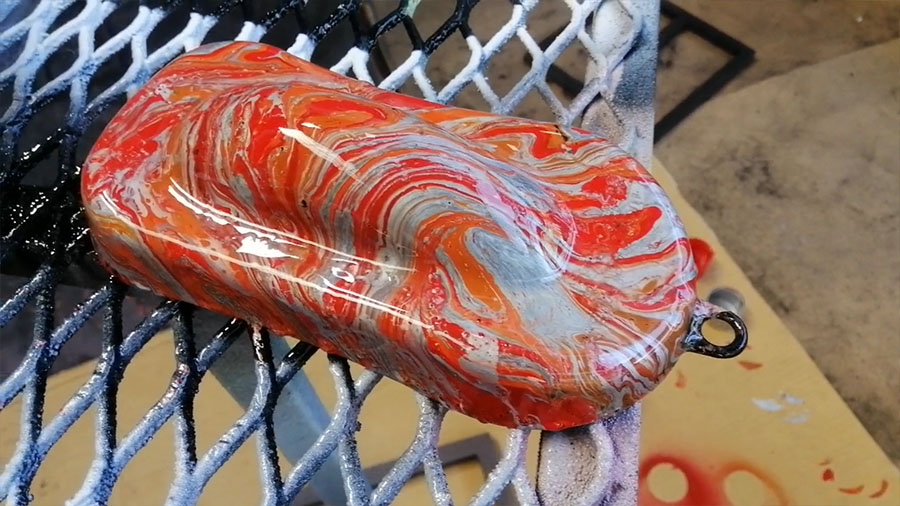
After that, immerse the object in the water to make the color stick to the object.
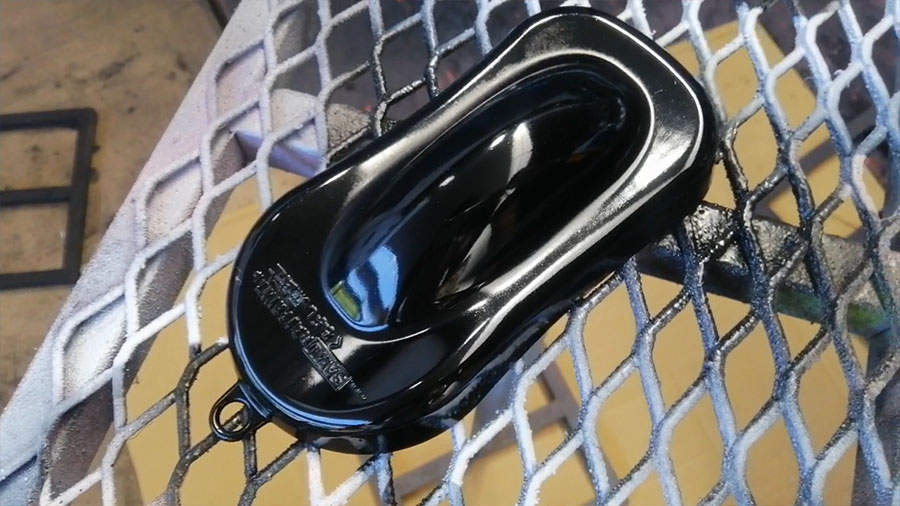
Finally, let it dry before apply top coat SAMURAI 2K Clear Coat as a final layer to protect the surface.
Now, you have learned how to spray Hydrographics or water transfer printing by using SAMURAI Spray Paint. So, you can start your own workpaint by following this tutorial. Don’t forget to share our post with your friends and leave your comment below for any suggestion. You also can share some of your workpaint by contact us in our Facebook and Instagram.
Follow our Facebook and Instagram to get new update about SAMURAI Spray Paint.
More Videos
Samurai Paint
Don’t forget to subscribe our youtube channel for more interesting tutorial.